IT357 Tools and Techniques in Defensive Security
Assignment 4 – OpenVPN Configuration
10 Questions – 40 Points
Objective: To implement a remote access VPN connection using OpenVPN to provide an
encrypted channel to t
...
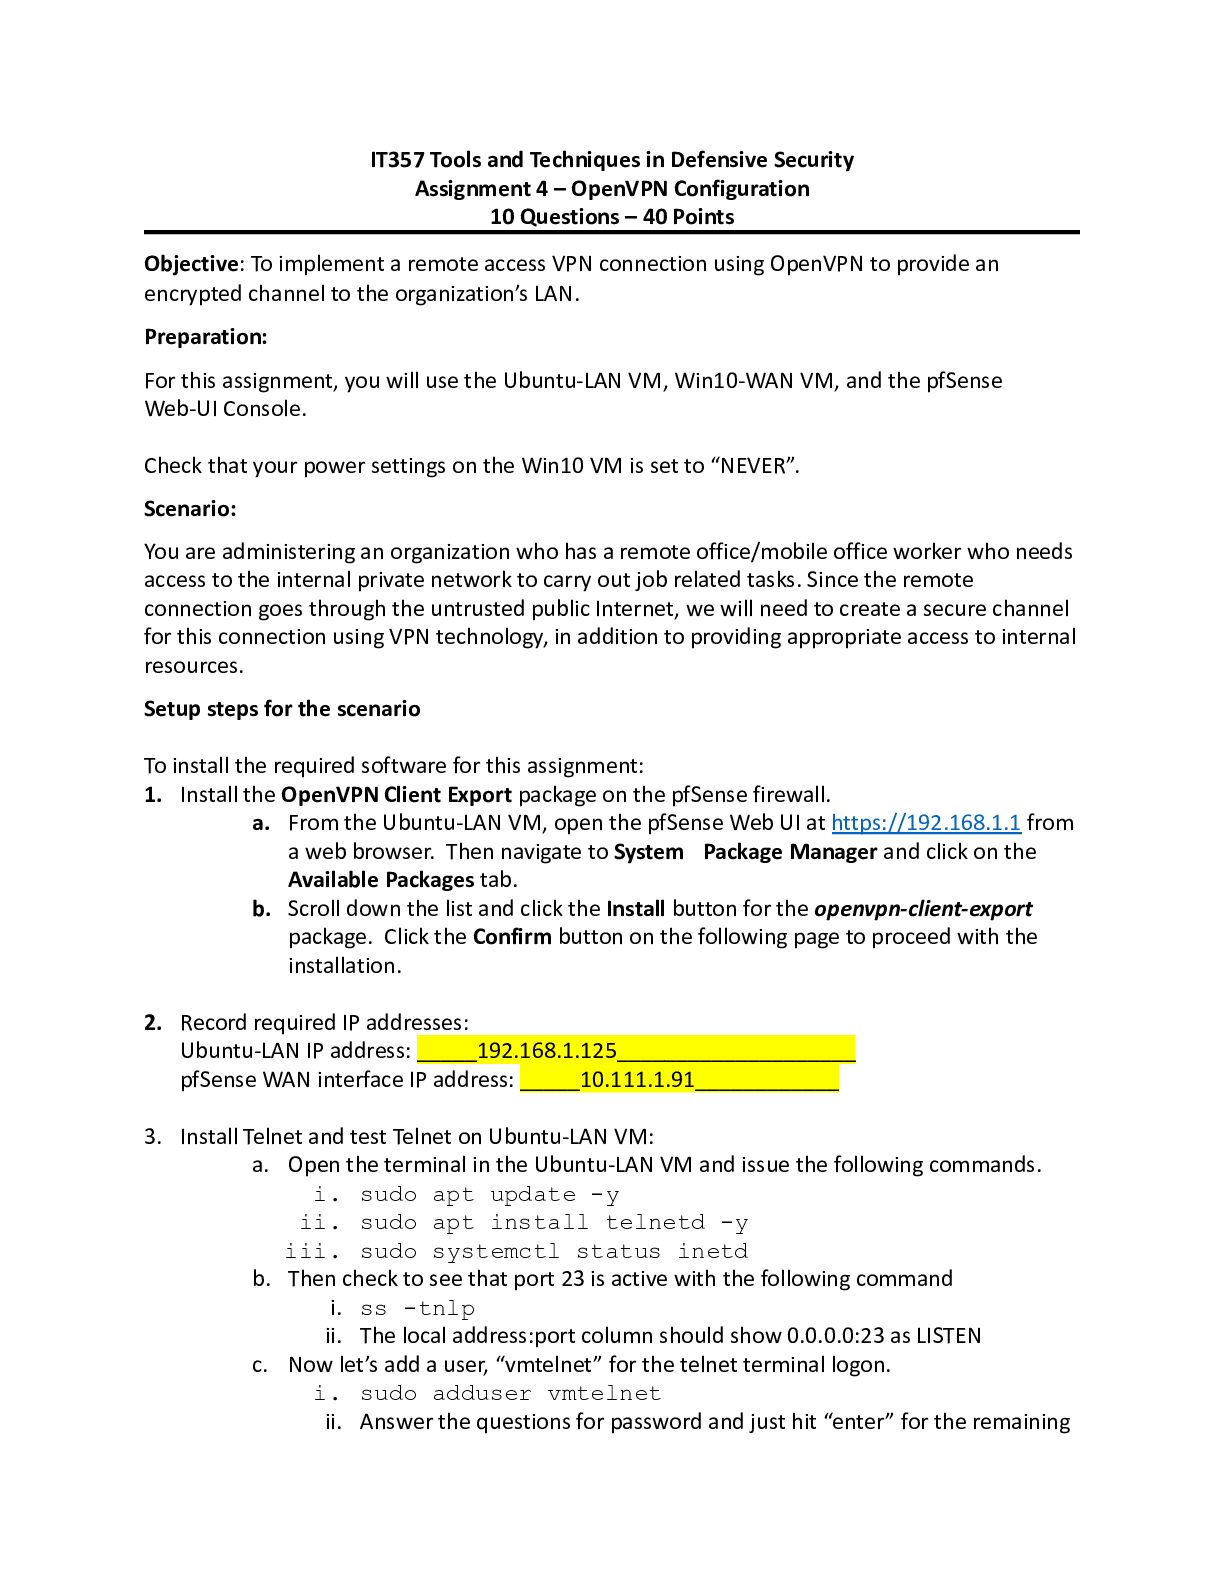
IT357 Tools and Techniques in Defensive Security
Assignment 4 – OpenVPN Configuration
10 Questions – 40 Points
Objective: To implement a remote access VPN connection using OpenVPN to provide an
encrypted channel to the organization’s LAN.
Preparation:
For this assignment, you will use the Ubuntu-LAN VM, Win10-WAN VM, and the pfSense
Web-UI Console.
Check that your power settings on the Win10 VM is set to “NEVER”.
Scenario:
You are administering an organization who has a remote office/mobile office worker who needs
access to the internal private network to carry out job related tasks. Since the remote
connection goes through the untrusted public Internet, we will need to create a secure channel
for this connection using VPN technology, in addition to providing appropriate access to internal
resources.
Setup steps for the scenario
To install the required software for this assignment:
1. Install the OpenVPN Client Export package on the pfSense firewall.
a. From the Ubuntu-LAN VM, open the pfSense Web UI at https://192.168.1.1 from
a web browser. Then navigate to System Package Manager and click on the
Available Packages tab.
b. Scroll down the list and click the Install button for the openvpn-client-export
package. Click the Confirm button on the following page to proceed with the
installation.
2. Record required IP addresses:
Ubuntu-LAN IP address: _____192.168.1.125____________________
pfSense WAN interface IP address: _____10.111.1.91____________
3. Install Telnet and test Telnet on Ubuntu-LAN VM:
a. Open the terminal in the Ubuntu-LAN VM and issue the following commands.
i. sudo apt update -y
ii. sudo apt install telnetd -y
iii. sudo systemctl status inetd
b. Then check to see that port 23 is active with the following command
i. ss -tnlp
ii. The local address:port column should show 0.0.0.0:23 as LISTEN
c. Now let’s add a user, “vmtelnet” for the telnet terminal logon.
i. sudo adduser vmtelnet
ii. Answer the questions for password and just hit “enter” for the remaining
questions. May I suggest you use the password “ab12cd34”, then you
won’t need to remember a different one.
d. You can now test the telnet by
i. telnet localhost
ii. and you can logon with the vmtelnet user and password “ab12cd34”.
e. Verify this works before moving on.
Telnet and unencrypted traffic
One of the benefits of using a VPN to connect two endpoints is the confidentiality aspect of
VPNs and its ability to encrypt traffic. You will first emulate an eavesdropping attack and see
how plaintext protocols such as Telnet are prone to eavesdropping attack.
1) Note: don’t forget to “Add Associated Filter Rule” then “apply” any changes.
2) Open Wireshark on the Win10-WAN VM and double click the Ethernet interface to start
listening to the network traffic. Apply the filter “tcp.port == 23” in the display filter box,
without the quotes.
3) Open Putty on the Win10-WAN VM and use it to Telnet to the pfSense WAN interface IP
address. Use the Ubuntu-LAN “vmtelnet” credentials to login to the machine remotely.
Note: if you don’t get the login prompt, go check your pfSense firewall rule. You can’t
proceed until you get the login.
4) Stop the Wireshark capture on the Win10-WAN VM. Locate the first packet in the
capture window. Right click and select Follow TCP stream. A new window will open and
allow you to see the contents of the packet payloads of the session.
Q1) Locate the Login and Password lines in the window to see the login credentials. (3
pts)
[Insert a screen shot showing Wireshark with the login credentials here.]
[Show More]












.png)