Questions and Answers > Arizona State University AST 113 ASTRONOMY Lab 2
Document Content and Description Below
Arizona State University
AST 113 ASTRONOMY Lab 2
Question 1
1 out of 1 points
Rotational Motion of Earth
We will start this lab by looking at the rotational motion of Earth.
You will see the
...
effect of rotational motion on the Northern
Hemisphere, at the equator, at the North Pole, and in the
Southern Hemisphere. You will then calculate the rising and
setting angles for each of those locations.
In this part of the lab, you will use the Starry Night software to
learn about and answer questions related to the rotational motion
of Earth. You should have a general familiarity with Starry
Night before attempting this portion of the lab. To become more
familiar with Starry Night, access the tutorial exercise within the
software.
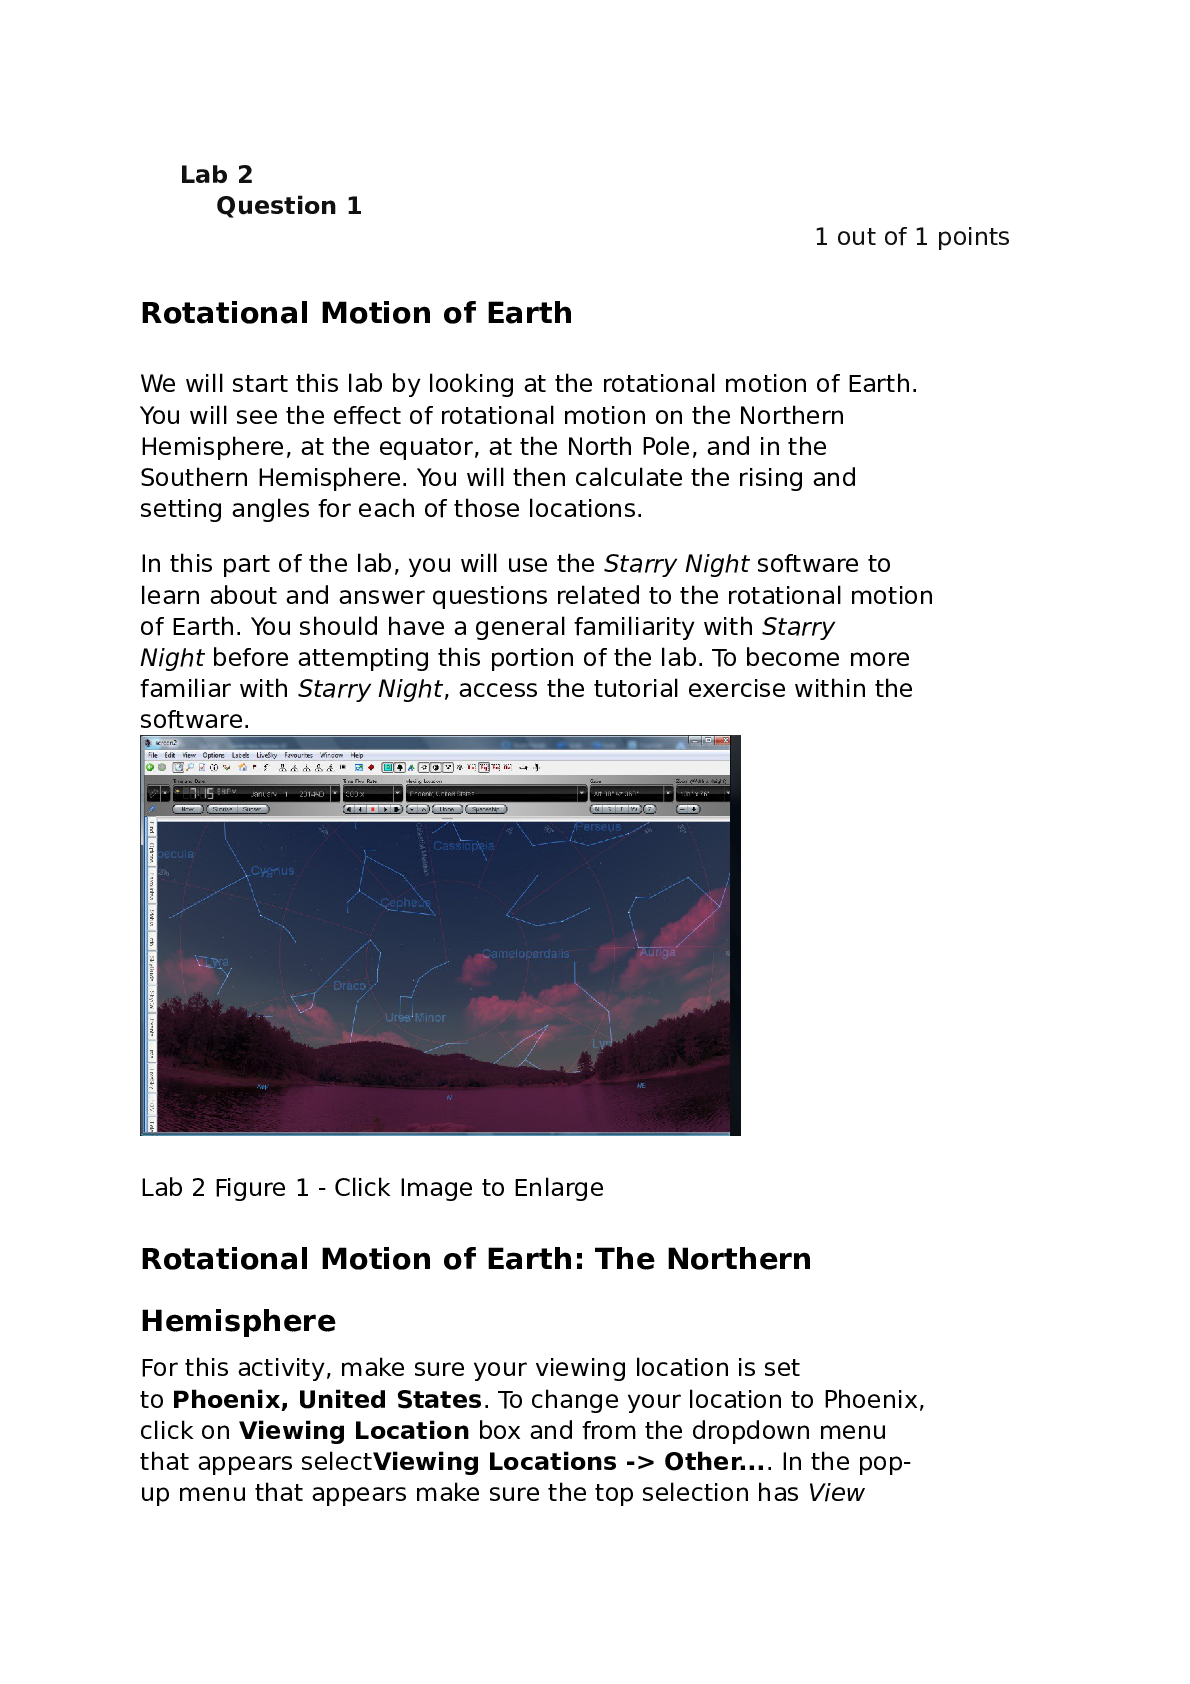
Lab 2 Figure 1 - Click Image to Enlarge
Rotational Motion of Earth: The Northern
Hemisphere
For this activity, make sure your viewing location is set
to Phoenix, United States. To change your location to Phoenix,
click on Viewing Location box and from the dropdown menu
that appears selectViewing Locations -> Other.... In the popup menu that appears make sure the top selection has View
from: Surface of Earth. Then Select the radio button
titled Show Where then search for Phoenix, United States in
the text box. When you have Phoenix selected, click Go To
Location. Hit the spacebar key to skip the animation.
Click the drop-down menu to the right of the Time and
Date field (on the control panel at the top of your screen just
above the viewing pane) and select Sunset. To turn on
the Constellations go to the tabs of the left side of the Starry
Night window and click on the View tab. Under the subject
heading Constellations check the boxes
for Boundaries, Labels, and Stick Figures. (At least I prefer
the stick figures, you can select the illustrations if you desire.)
Click the W viewing direction button on the button bar, or
press W on your keyboard to look toward the west. Select 300×
from the Time Flow Rate drop-down list. Click the PLAY button
to have time move forward; keep this setting throughout this
activity. Watch the stars and constellations set and note the
direction in which they set.
If, during this activity, you return to daylight, simply right-click
the screen and select Hide Daylight to turn daylight off. If time
should stop during the activity, click the PLAY time mode button
to start again.
Now switch your field of view toward the east by clicking
the E viewing direction button or by pressing the E on your
keyboard. Be sure that time is moving forward at 300×. Now that
you are looking toward the east, note the angle in which the stars
and constellations move.
Now click the S viewing direction button on the button bar or
press the S key on your keyboard to look toward the south. Be
sure that time is moving forward at 300×. Note the direction in
which the stars and constellations are moving this time. Be sure
to look at the motion right above the south direction and for only
short distances.
Finally, look north by clicking the N viewing direction button on
the button bar or by pressing the N key on your keyboard to look
north. Note the motion you see here. To help you visualize the
motion, click the Equatorial (Eq) coordinate system button to
superimpose an equatorial coordinate system on the celestial
sphere. To turn on the Equatorial coordinate system go to the
tabs of the left side of the Starry Night window and click on
the Options Tab. Under the subject heading Guides expand the
arrow labeled Celestial Guides, Poles. This is the Equatorial
coordinate system. Check the boxes for Equator, Grids,
and Poles. The equator that you see projected on the sky
extends from Earth's Equator. The lines you see are similar to
lines of latitude and longitude on the Earth, but projected out to
the sky. Continue moving forward in time at 300× and note the
motion you observe.
Lab 2 Figure 2 - Click Image to Enlarge
The Earth is a sphere rotating in space. The motions of stars and constellations you
have been observing are caused by Earth’s motion. The stars and constellations
themselves are not moving to cause the apparent motion you observe. The
discrepancies in motion demonstrated by your different viewing angles are a result of
Earth’s spherical shape and rotational motion. Our view toward the north clearly shows
how the stars appear to move about a specific point—that point being the projection of
Earth’s North Pole out into space. We call this point the North Celestial Pole
(NCP). The constellations revolving close to this point are referred to
as circumpolar constellations. For higher latitudes, these constellations
may never set; they simply go round and round the North Celestial Pole. Be sure to
keep the Equatorial (Eq) coordinate system This is under Celestial
Guilds in the Options tab our version of Starry Night, on as you work through
these activities.
Use your mouse to point at the star nearest to the North Celestial
Pole. Information about this star should appear on your screen.
Zoom in a bit by using the zoom control in the upper-right area of
the control panel. Determine the angular separation of this star
from the North Celestial Pole. You can do this by hovering the
mouse directly over the star (watch as the hand turns to an
arrow); while clicking and holding the mouse button, drag the
mouse over to the North Celestial Pole. Your angular separation
value will be given in degrees, minutes, and seconds of arc.
Recall that there are 360 degrees in a circle, 60 minutes of arc in
a degree, and 60 seconds of arc in a minute.
The star you selected so close to the North Celestial Pole is
almost directly aligned with the direction north on Earth; thus, we
call this star the North Star (note the directions shown on the
horizon). The North Star is not exactly aligned with the North
Celestial Pole; however, it is within a degree of it. Also note that
the North Star is not the brightest star in the sky. This is a
common misconception. This star is not important because of its
brightness, but rather because of its location. Being so close to
the North Celestial Pole, it essentially doesn't move across the
sky as other stars do, but remains fixed in the sky toward the
north for all observers on Earth at all times of the year. For this
reason, it is an important navigational aid and has guided many a
traveler in many a culture over the ages. You hover over any star
with the mouse, including the North Star, to find out more
information; this information shows up as yellow text in the Sky
Viewing window. To best appreciate this property of the North
Star, select a time speed of 3000×. Note that the position of the
North Star essentially does not vary, while the rest of the sky
whizzes by.
To Find the angular separation between two points on the sky,
you can use the angular separation tool. This tool is found by
clicking a button in the upper left of the Starry Night window
(usually it has a hand symbol). After clicking on this button a
drop-down menu appear with several cursor tools. The default
selection is Adaptive but we want to select Angular Separation.
To measure the angular separation using this tool, click and hold
on the first point in the sky then drag to the second point while
holding. The angular separation is reported in bold red under the
cursor. After you are done using the angular separation tool you
may want to put the cursor back to the Adaptive tool.
After you have had a chance to explore, use the Starry
Night software to answer these questions.
When facing west, in which direction do the stars and
constellations set?
· Question 2
1 out of 1 points
When facing east, in which direction do the stars and
constellations rise?
· Question 3
1 out of 1 points
Are the rising and setting angles of stars the same?
· Question 4
1 out of 1 points
When facing south, in which direction do the stars and
constellations seem to move?
· Question 5
1 out of 1 points
When facing north, which of the following best describes the
motion of the stars and constellations?
· Question 6
1 out of 1 points
What type of star is the North Star?
· Question 7
1 out of 1 points
Polaris is the brightest star in the sky.
· Question 8
1 out of 1 points
What is the distance from the North Star to the Sun?
· Question 9
1 out of 1 points
What is the angular separation from the North Star to the North
Celestial Pole (set the zoom to 58°x 32°)?
· Question 10
1 out of 1 points
Lab 2 Figure 3 - Click Image to Enlagre
Rotational Motion of Earth: The Equator, North
Pole, and Southern Hemisphere
Let’s investigate the rotational motion of Earth further by
traveling to other locations.
First, let’s travel to the equator by selecting the Options menu
and choosing Viewing Location. Select
the Latitude/Longitude tab and enter 0 (zero N) as the latitude.
Watch as you fly to your new location on Earth’s equator. Watch
the motion of stars rising and setting from the west, east, south,
and north, just like you did in the first section of this lab when
your location was the Northern Hemisphere. Note the North Star’s
motion while you’re at the equator.
Next let’s travel to Earth’s North Pole. To travel to the North Pole,
select the Options menu and choose Viewing Location; then
select the Latitude/Longitude tab and enter 90 N for your
latitude. Watch as you fly to the North Pole. Watch the motion of
stars rising and setting from the west, east, south, and north.
Now use the 'Z' directional button (located next to the NSEW
direction buttons) to look straight up at the zenith. Which
direction are the stars moving? Note the North Star’s motion
while you’re at the North Pole.
Finally, let’s travel to Earth’s Southern Hemisphere. How will
Earth’s rotation cause things to look different to us in the
Southern Hemisphere? To travel to the Southern Hemisphere,
select the Optionstab and choose Viewing Location; select
the Latitude/Longitude tab and enter 45 S for your latitude.
Watch as you fly to the Southern Hemisphere. Watch the motion
of stars rising and setting from the west, east, south, and north,
just like you did when your location was the Northern
Hemisphere. Note the stars’ motion while you’re in the Southern
Hemisphere.
Why do the motions appear as they do? What’s different
compared to the motions we see from mid-latitude locations in
the Northern Hemisphere?
After you have had a chance to explore, use the Starry
Night software to answer these questions.
Facing west at the equator, in which direction are the stars
moving?
· Question 11
1 out of 1 points
Facing south at the equator, in which direction are the stars
moving?
· Question 12
1 out of 1 points
Looking straight up at the zenith while at the North Pole, in which
direction are the stars moving?
· Question 13
1 out of 1 points
Facing south at the North Pole, in which direction are the stars
moving? (Hint: it may be useful to shift your point of view upward
from the horizon, to see what the stars are doing at the zenith.)
· Question 14
1 out of 1 points
Facing west in the Southern Hemisphere, in which direction are
the stars moving?
· Question 15
1 out of 1 points
Facing north in the Southern Hemisphere, in which direction are
the stars moving?
· Question 16
1 out of 1 points
Which of the following statements provides the best explanation
for why the daily motion of stars appears differently from
different locations on the Earth?
· Question 17
1 out of 1 points
Rotational Motion of Earth: Calculating Rising
and Setting Angles
For this section of the lab, set the Starry Night software to return
to the Phoenix, United States location. Estimate the rising and
setting angles you observed earlier by clicking both
the Localcoordinate system button and
the Equatorial coordinate system button, located at the top right
of the button bar. As you move time forward at 300×, try to
determine the angle of motion measured with respect to the
horizontal as best you can.
Determine the latitudes and rising angles at the Phoenix location,
at the equator, and at the North Pole; note the comparisons. For
this section of the lab, it might be helpful to record your
measurements in a table to use to answer the questions.
The latitude values can be found by clicking the Location button
on the button bar and then selecting
the Latitude/Longitude tab. The rising angle refers to the
estimated rising angle as measured from the horizontal. You
might have to use a protractor if you have one: Hold it to the
screen as the motion is turned on and while the local and
equatorial coordinate systems are showing. The setting angle
(looking toward the west) should be the same, but just a mirror
image of the rising angle. Be sure to record the angle in degrees.
After you have found and recorded the latitudes and rising angles
for all three locations, add the latitude and rising angle
values together to get the Sum. Do you notice a pattern in
your data?
[OPTIONAL]To get more accurate values for the rising angles, do
the following: Select the Angular Separation tool by clicking the
Tool Selection icon at the far left of the control panel (by default,
this button appears as a hand with a plus sign in it). While looking
toward the west, click and hold on any spot on the local meridian
line directly over the west direction (directly over the W on the
horizon). You can turn on the meridian and its grid under
the Options tab -> Guilds -> Alt Az Guilds -> check the boxes
for Grid and Meridian. Hold and drag the pointer up along the
meridian line. Continue to hold down the mouse button and note
that two numbers are displayed. The first is the angular
separation. The second is the direction as measured from the
North Celestial Pole (the red lines of the equatorial coordinate
system all lead to the North Celestial Pole). This procedure, if
done properly, can yield an accurate rising angle (the second
number).
After you have had a chance to explore, use the Starry
Night software to answer these questions.
What is the rising angle for Phoenix?
| · Question 18
What is the rising angle for the equator? |
| |
| |
| · Question 19
What is the rising angle for the North Pole? |
| | |
· Question 20
1 out of 1 points
What does the SUM come out to be for all locations on Earth?
· Question 21
1 out of 1 points
Thinking of the Earth as a rotating sphere, which of the following
statements provides the best explanation for your answer to
question 4?
· Question 22
1 out of 1 points
Lab 2 Figure 4
Lab 2 Figure 5
Seasonal Stars
This next section of the lab is about seasonal stars. We will use
the heliocentric model to explain why different zodiacal
constellations appear in the night sky as the year progresses.
Figure 4 shows a Sun-centered, or heliocentric, perspective of the
Earth–Sun system. The figure shows the direction of both the
daily rotation of Earth about its own axis and its annual orbit
about the Sun. You are the observer shown in Figure 4, located on
Earth in the Northern Hemisphere while facing south.
Figure 5 shows a horizon view of what you would see when facing
south on this night at the same time as shown in Figure 4.
Which labeled constellation do you see highest in the southern
sky?
· Question 23
1 out of 1 points
For the time shown, which constellation is just to the east (to your
left when you are facing south), and which constellation is just to
the west (to your right when you are facing south) of the highest
constellation at this instant?
· Question 24
1 out of 1 points
Noting that you are exactly on the opposite side of Earth from the
Sun, what time is it?
· Question 25
1 out of 1 points
In six hours, the observer will be able to see the sun.
Selected
· Question 26
1 out of 1 points
In six hours, which constellation will be behind the sun?
· Question 27
1 out of 1 points
When it is noon for the observer, which constellation will be
behind the sun?
· Question 28
1 out of 1 points
One month later, Earth will have moved one-twelfth of the way
around the Sun. You are again facing south while observing at
midnight. Which constellation will now be highest in the southern
sky?
· Question 29
1 out of 1 points
Which direction do you have to look from the highest
constellation that you see now to see the constellation that was
highest one month ago at midnight?
· Question 30
1 out of 1 points
Does the constellation that was highest in the sky at midnight a
month ago now rise earlier or later than it rose last month? Why?
· Question 31
1 out of 1 points
Lab 2 Figure 6
Solar Versus Sidereal Day
The final part of this lab explores the difference between a solar
day and a sidereal day. A solar day is defined as the time it takes
for the Sun to go from its highest point in the sky on one day to
its highest point in the sky on the next day; we divide that time
into 24 hours. A sidereal day is defined as the time it takes for
Earth to rotate exactly 360° about its axis with respect to the
distant stars.
Figure 6 shows a top-down view of the Earth–Sun system. Arrows
indicate the directions of the rotational and orbital motions of
Earth. For the observer shown, the Sun is highest in the sky at
noon.
Earth orbits the Sun in a counterclockwise direction once every
365 days. Approximately how many degrees does Earth move
along its orbit in one day?
· Question 32
1 out of 1 points
As Earth orbits the Sun, it also rotates in a counterclockwise
direction about its axis as shown in Figure 6. We define 24 hours
as the time from when the Sun is highest in the sky one day to
when it is highest in the sky the next day. How many degrees
does Earth rotate about its axis in exactly 24 hours?
· Question 33
1 out of 1 points
How long does it take Earth to rotate exactly 360°?
· Question 34
1 out of 1 points
Earth rotates about its axis once every 24 hours; one rotation
equals 360°.
· Question 35
1 out of 1 points
Earth rotates a greater amount during a sidereal day versus a
solar day.
· Question 36
1 out of 1 points
A sidereal day takes a shorter amount of time than a solar day.
[Show More]
Last updated: 3 years ago
Preview 1 out of 19 pages


.png)