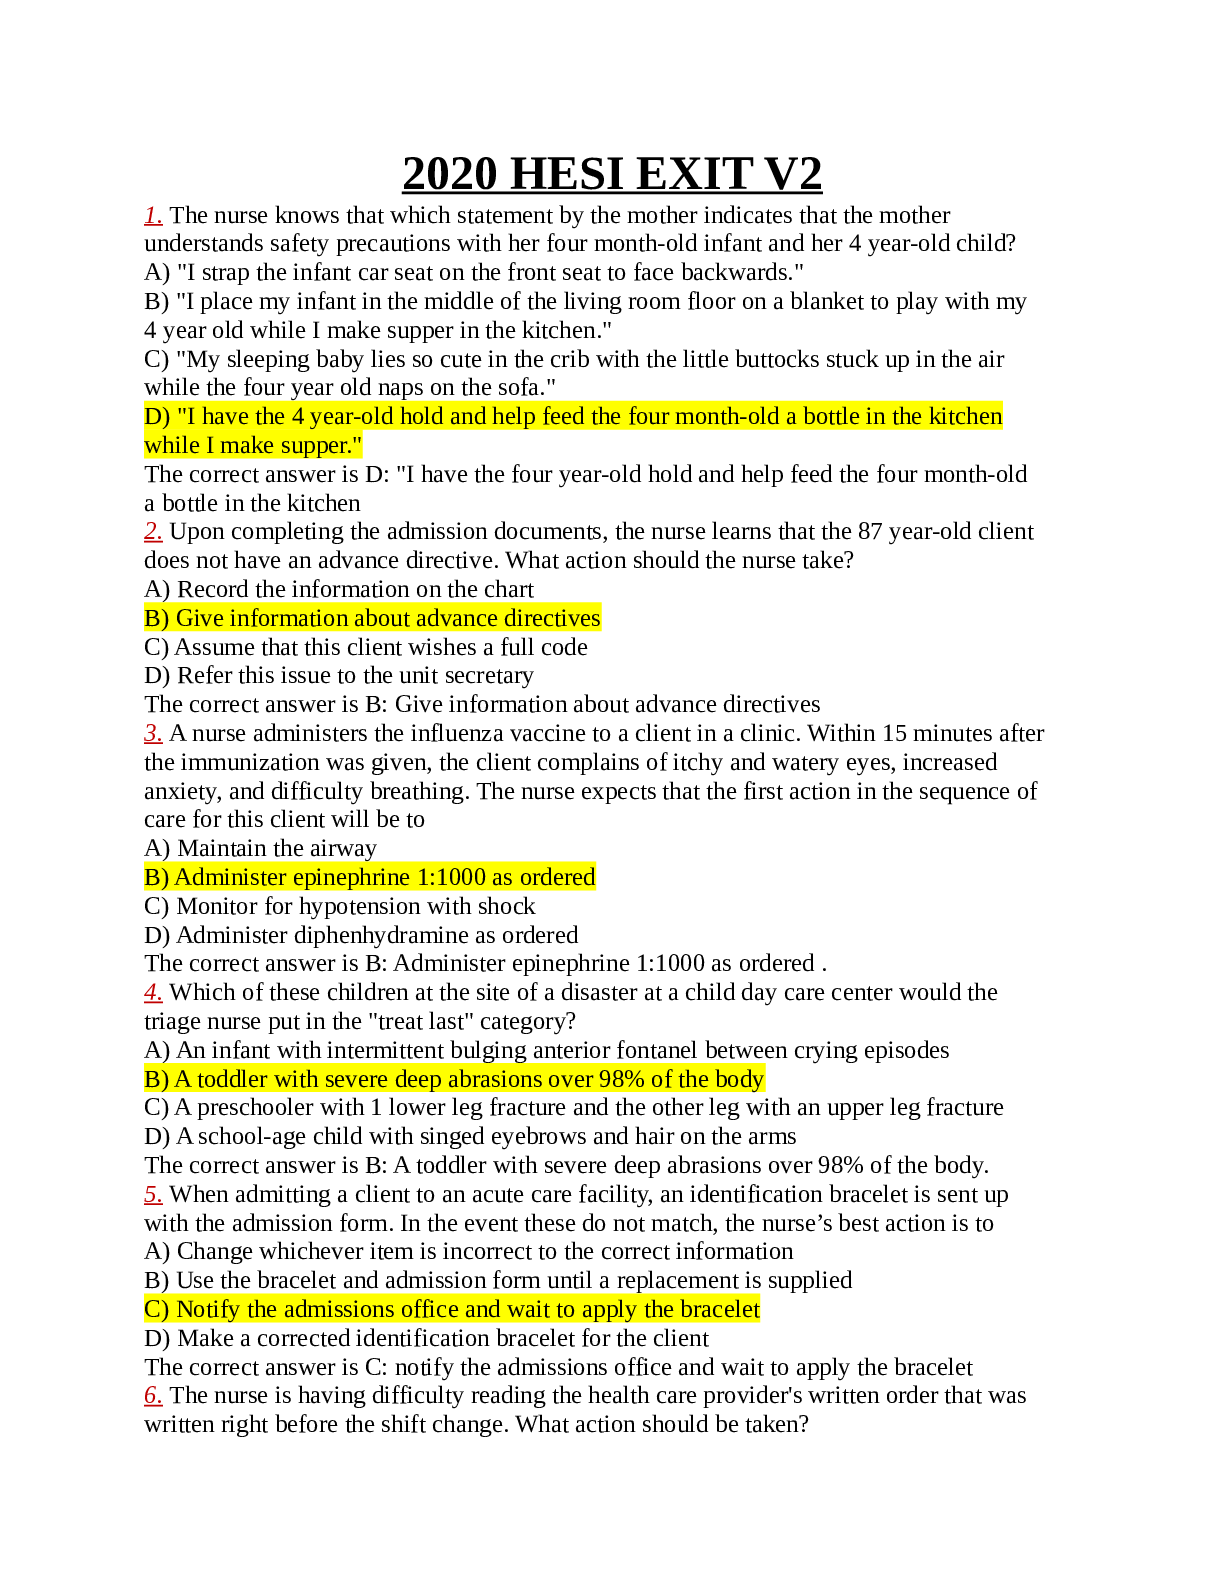
2020 HESI EXIT V2 QUESTIONS WITH CORRECT ANSWERS TO BOOST YOUR GRADES
Mechanical Engineering > Lab Report > CET 345W Materials Testing Laboratory: Tension Test of Metals full lab report. (All)
Table of Contents 1. Summary …………………………………………….…………………………… 2 2. Procedure ……….…………………………………………………� ... ��…………… 3 3. Equipment ……………………..………………….……………………………… 4 4. Experiment Requirements ….……..………………………………………………. 6 5. Required Data ……………..…….………………….…………………………….. 7 6. Sample Calculations …..……..…….……………….…………………………….. 11 7. Sketches/Graphs ……………..…….……………….…………………………….. 13 8. Conclusions/Analysis …………………………….………………………………. 15 9. Appendix …………………………………………………………………………. 17 2429 4041 2 1. Summary This test is aim to teach students how to do tension test of metals. The tape measure will be used to measure the lengths of the different metals. The caliper will be used to measure the thickness or width of the different metals. The nails will be used to mark up punch marks or dimples on the metals. It will be marked on every 1 inch on center. This will eventually establish a gauge length. When we apply tension to the specimen, we will be able to see how much the steel piece stretch has. The marker we will use to draw a straight line on each of the specimen as a guide. The hammer will be used to help create punch marks on each of the specimens. The block will be used to place the specimens on top of it in order to create marks in a better way. The 60,000 lb universal testing machine will be used for the experiment. The first few specimens we will be testing are steel ones which are flat. The last one will be round shaped. For the flat specimens, the wedges have a flat surface that has a somewhat rough. It is used to keep the specimens from sliding. We will wedge the specimen in between two of them. We will secure the specimen by clamping it or handles that will be connected to the equipment. For the round specimen, we will change the setting. We will use different type of wedges. Instead of having a flat surface, they have a concave surface. The round material can be wedged into the concave surface and clamped secure so we can apply tension to the specimen. Once the specimen is connected to the testing machine, we will apply tension to it. While we apply the tension, we will see the force and deformation. The force will be in pounds and deformation in inches. It will be in the 602 controller. The loading is the top reading. The deformation is on second row in inches. On the bottom of the reading is the speed or rate of load application in inches per minute. We will keep it low so we can read and collect data. The top row will change into positive number and increase greatly until specimen fails. It will stop when the specimen fractures. For the Aluminum specimen, record 68 readings. For the Steel specimen, record 116 readings. Measure the width and thickness of the specimens before and after the test. After specimen fractures, measure it and calculate the reduced area. 3 2. Procedure 1. Determine the average cross-sectional dimensions of the specimen with a micrometer caliper. Scribe a line along the bar and with a center punch lightly mark a 4 in. gage length symmetrical with the length of the bar. Also, mark each inch of length within the gage length. 2. Firmly grip the upper end of the specimen in the fixed head of the testing machine. Place the specimen so that the punch marks face the front of the machine. Ensure that as much of the specimen as is practical is within the grips by having not more than 1/4 in. of clearance between the extreme punch marks and the grips. 3. Measure the gage length and determine the multiplication ratio of the extensometer. Determine the value of the divisions on the dial indicator. Firmly attach the extensometer to the specimen so that its axis coincides with that of the specimen. Adjust the testing machine and the extensometer to read zero, setting the latter so that most of its range will be available. 4. Apply load at a slow speed (0.025 in/min, or as directed), and take simultaneous observations of load and strain without stopping the machine unless absolutely necessary. Continue loading until the yield point is passed. Remove the extensometer while continuing to apply the load. 5. When the gage length has increased to 0.1 in. in the 4 in. gage length, as measured with dividers and scale, observe the load. Thereafter, for each 0.1 in. increase in gage length, observe the load. For this part of the test, the speed of the machine may be increased to about 0.2 in. per min. Record the maximum and breaking loads. 6. Remove the broken specimen from the machine. If the specimen is jammed in the grips, use a hammer to strike the sides of the specimen. Do not strike the grips or grip handles. 7. Observe the location and character of the fracture, and measure the dimensions of the smallest section. Fit the broken parts together and measure the deformation in the original four inches of gage length and the deformation of the closest 2 inches about the fracture. [Show More]
Last updated: 3 years ago
Preview 1 out of 43 pages

Buy this document to get the full access instantly
Instant Download Access after purchase
Buy NowInstant download
We Accept:


CET 345W Materials Testing Laboratory. all full lab reports.
By Professor Lynne 4 years ago
$11
10
Can't find what you want? Try our AI powered Search
Connected school, study & course
About the document
Uploaded On
Jul 31, 2021
Number of pages
43
Written in
All
This document has been written for:
Uploaded
Jul 31, 2021
Downloads
0
Views
142
Scholarfriends.com Online Platform by Browsegrades Inc. 651N South Broad St, Middletown DE. United States.
We're available through e-mail, Twitter, Facebook, and live chat.
FAQ
Questions? Leave a message!
Copyright © Scholarfriends · High quality services·


.png)


.png)


.png)